The adventure to creating my own Disney Tiki mug
Okay so, it’s been a minute. A quarantine minute or so. With Disneyland not being open, it’s been a lot of watching Disney+ and dreaming about the pre-COVID days of walking about the parks. So began on a passion project of mine… making my own tiki mug. Is it necessary? Totally not. But, did I think Mondo Tees was going to make a Disney tiki mug that SPOKE to me in the next few years? Probably not.
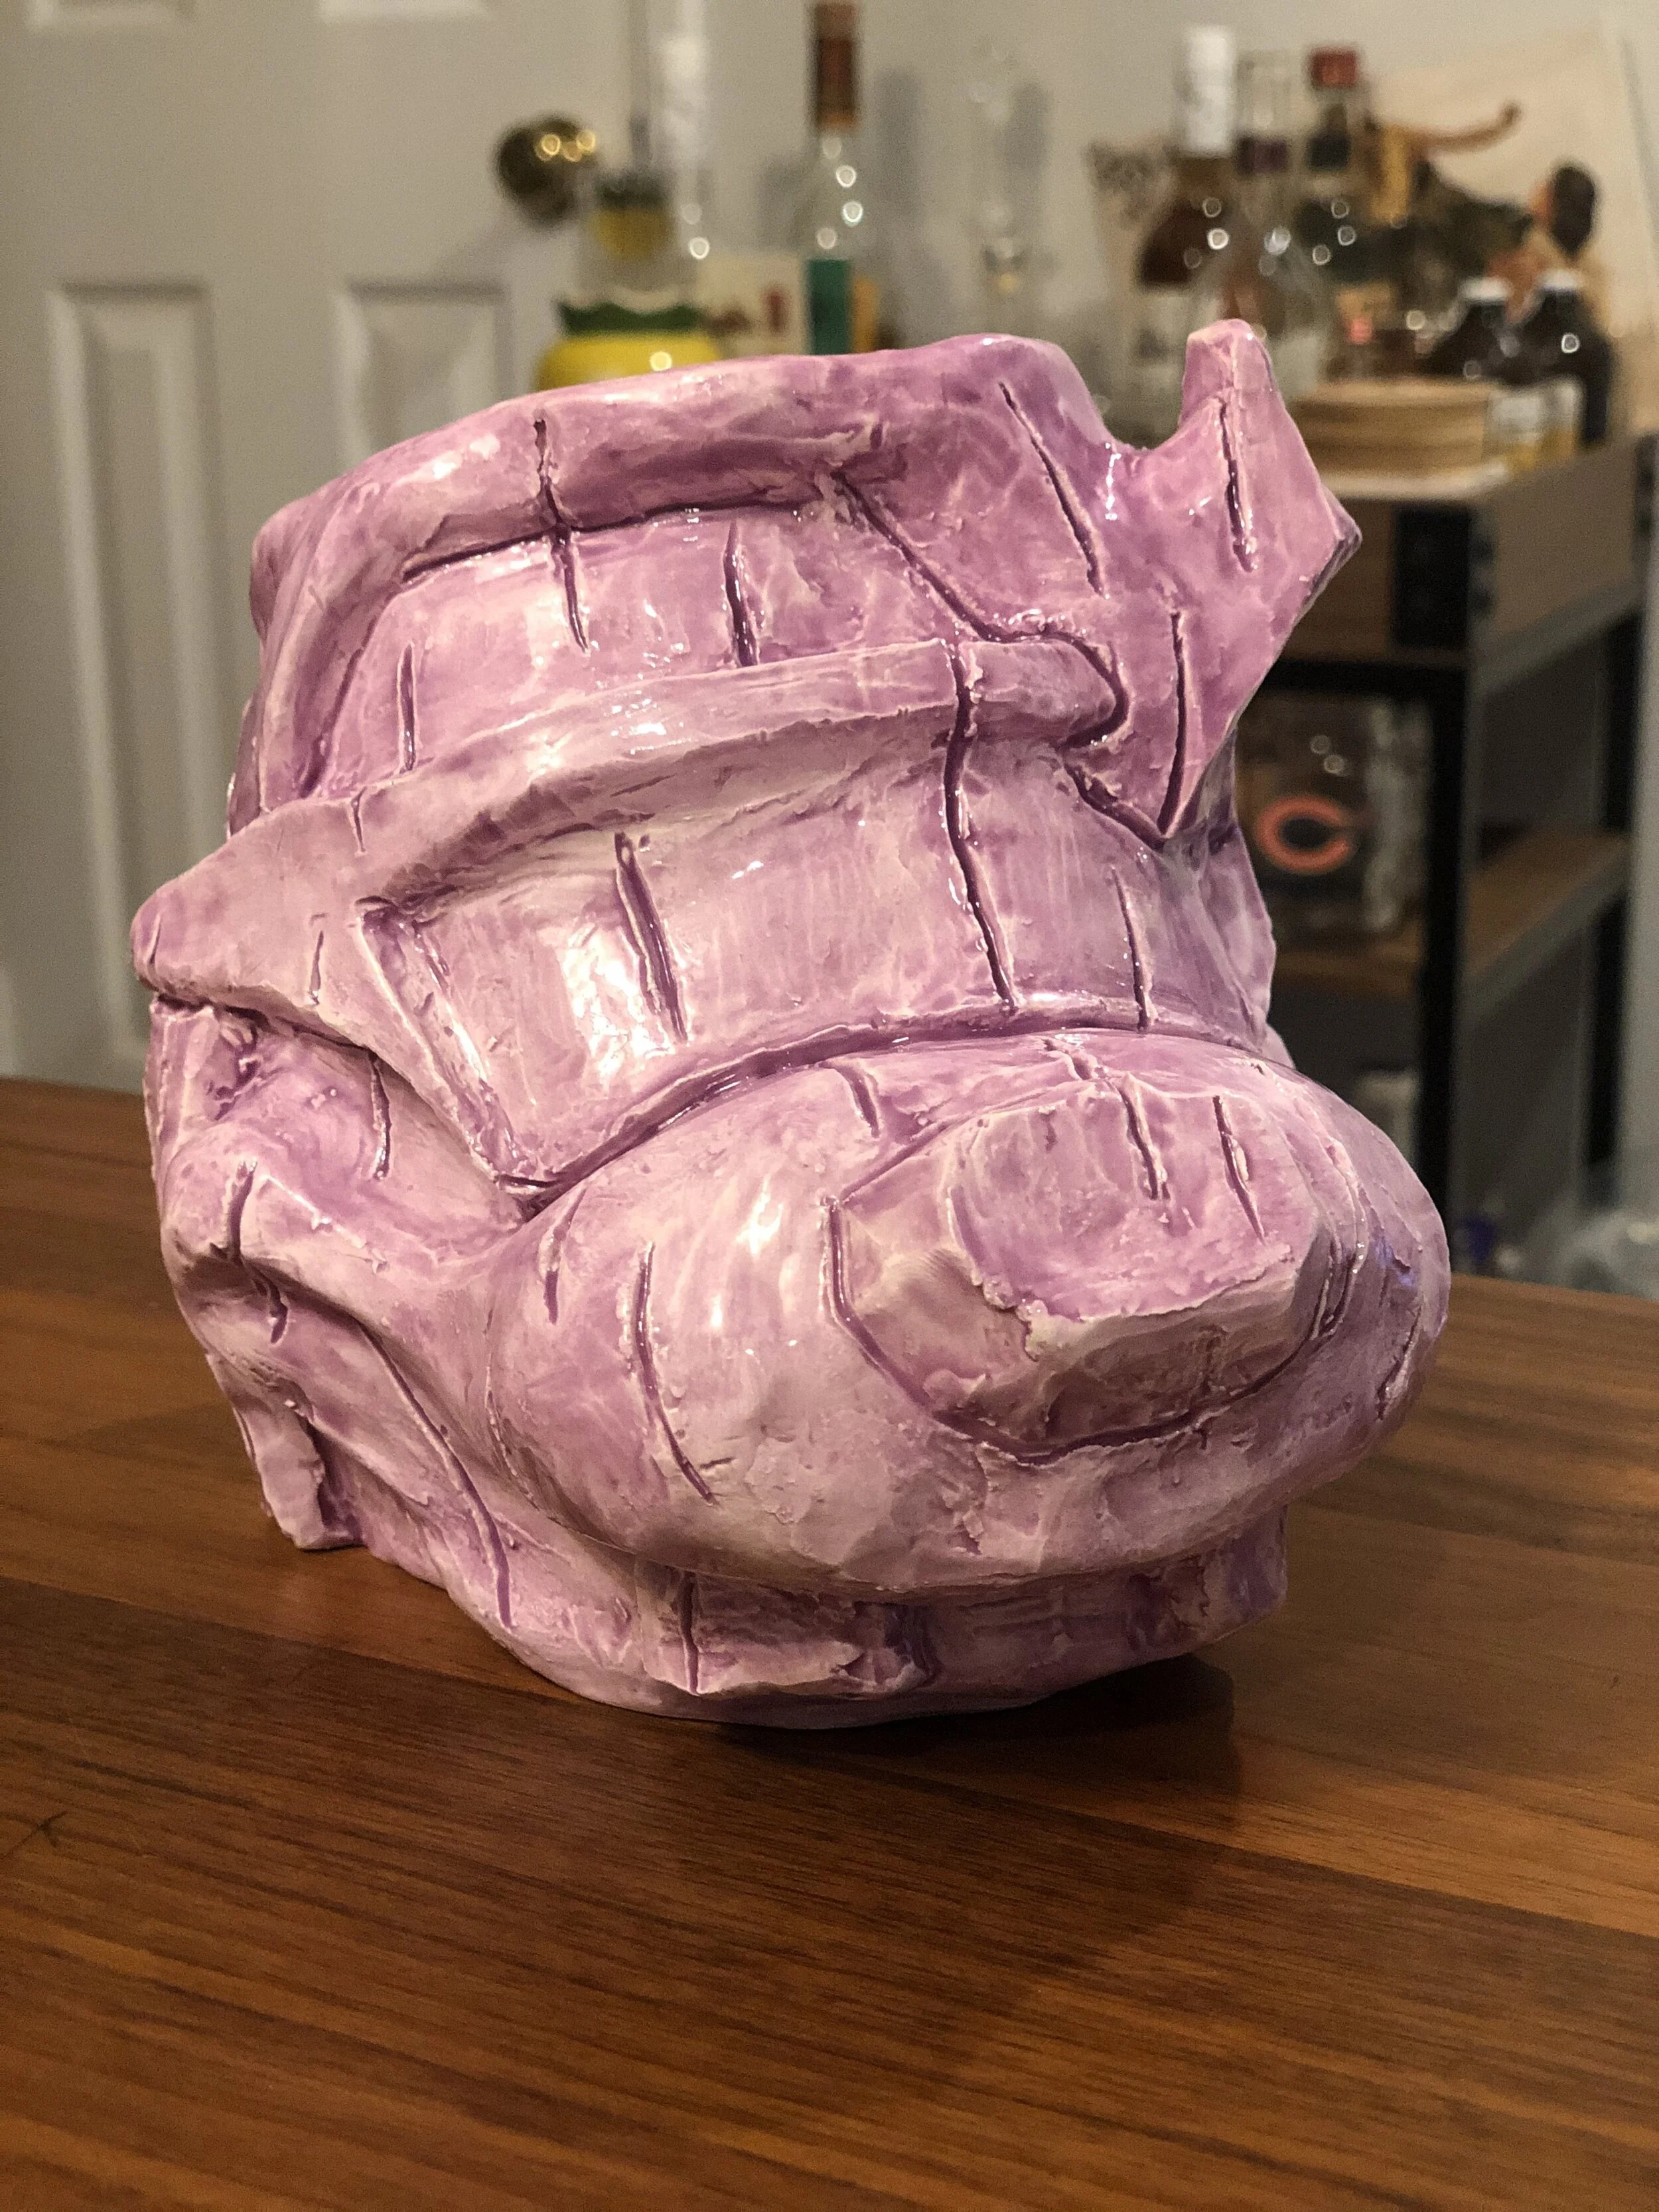
I’m proud to announce… my very own Goofy Movie tiki mug!


A little more background for those of you wondering what I meant when referencing the Mondo Tees company. Disney has awarded Mondo Tees the US license to make tiki mugs, which is why you don’t see the company that makes GeekiTiki (if you like the Star Wars or Marvel ones) making Disney versions. But, Mondo has only made a handful of tiki mugs over the course
I wanted to share the process and journey into creating my own Disney tiki mug, and I couldn’t have done it without the incredible help of Aaron White from Promistyx to helping to make this tiki mug come true. In coordination with Aaron, here’s the step by step process that he/I took to creating this bad boy. It was a multiple month process, so if you’re looking to embark on a project like this of your own please be warned it is a process! But, here’s a guide to help you through this process with someone else (or Aaron!). Just know, this is probably not something you can do at home unless you happen to have tiki mug materials & a kiln.
Step 1a: Find the right person for the job
There are plenty of people you can find on Instagram that are experts in making tiki mugs. In fact, I actually reached out to a few to help with this, but some were either too busy or didn’t want to dance too close to the Disney line. Aaron is a former coworker of a friend, and owner of a company that makes merchandise that includes tiki mug.
Step 1b: The idea
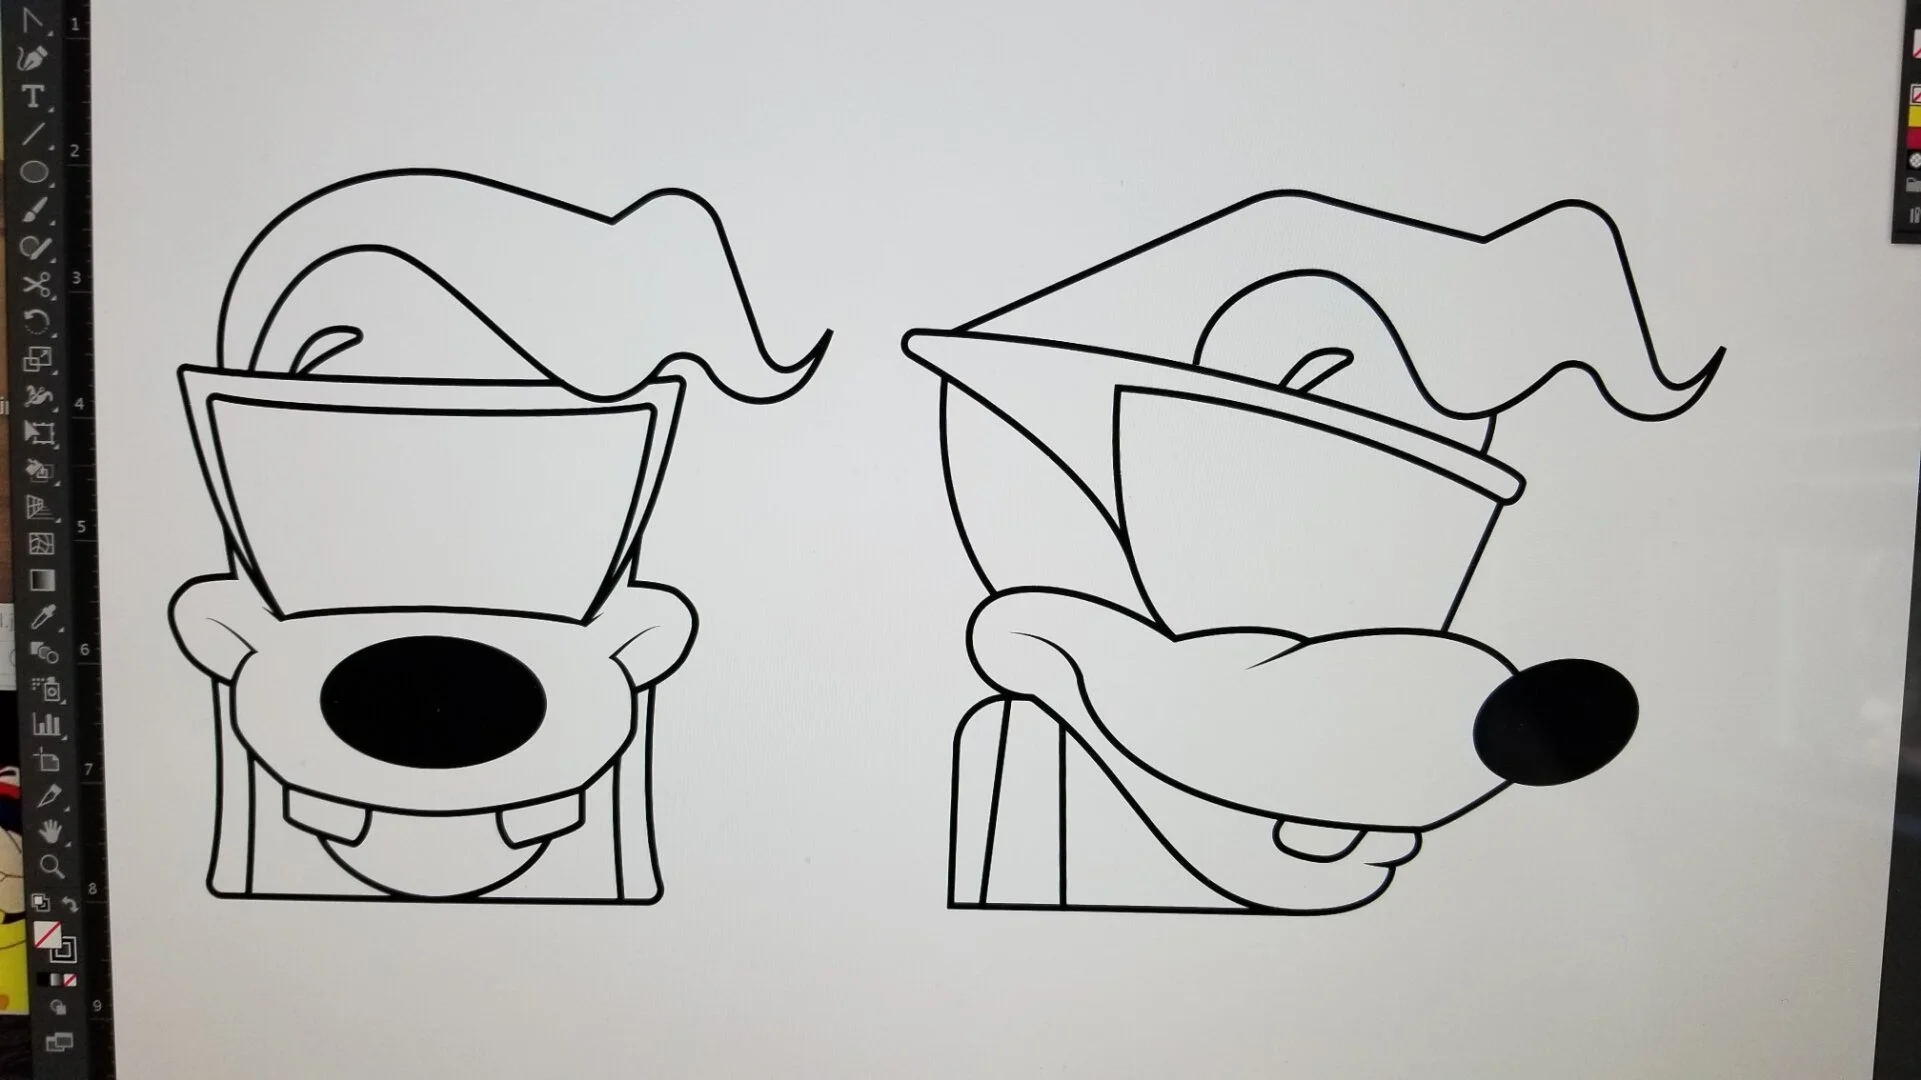
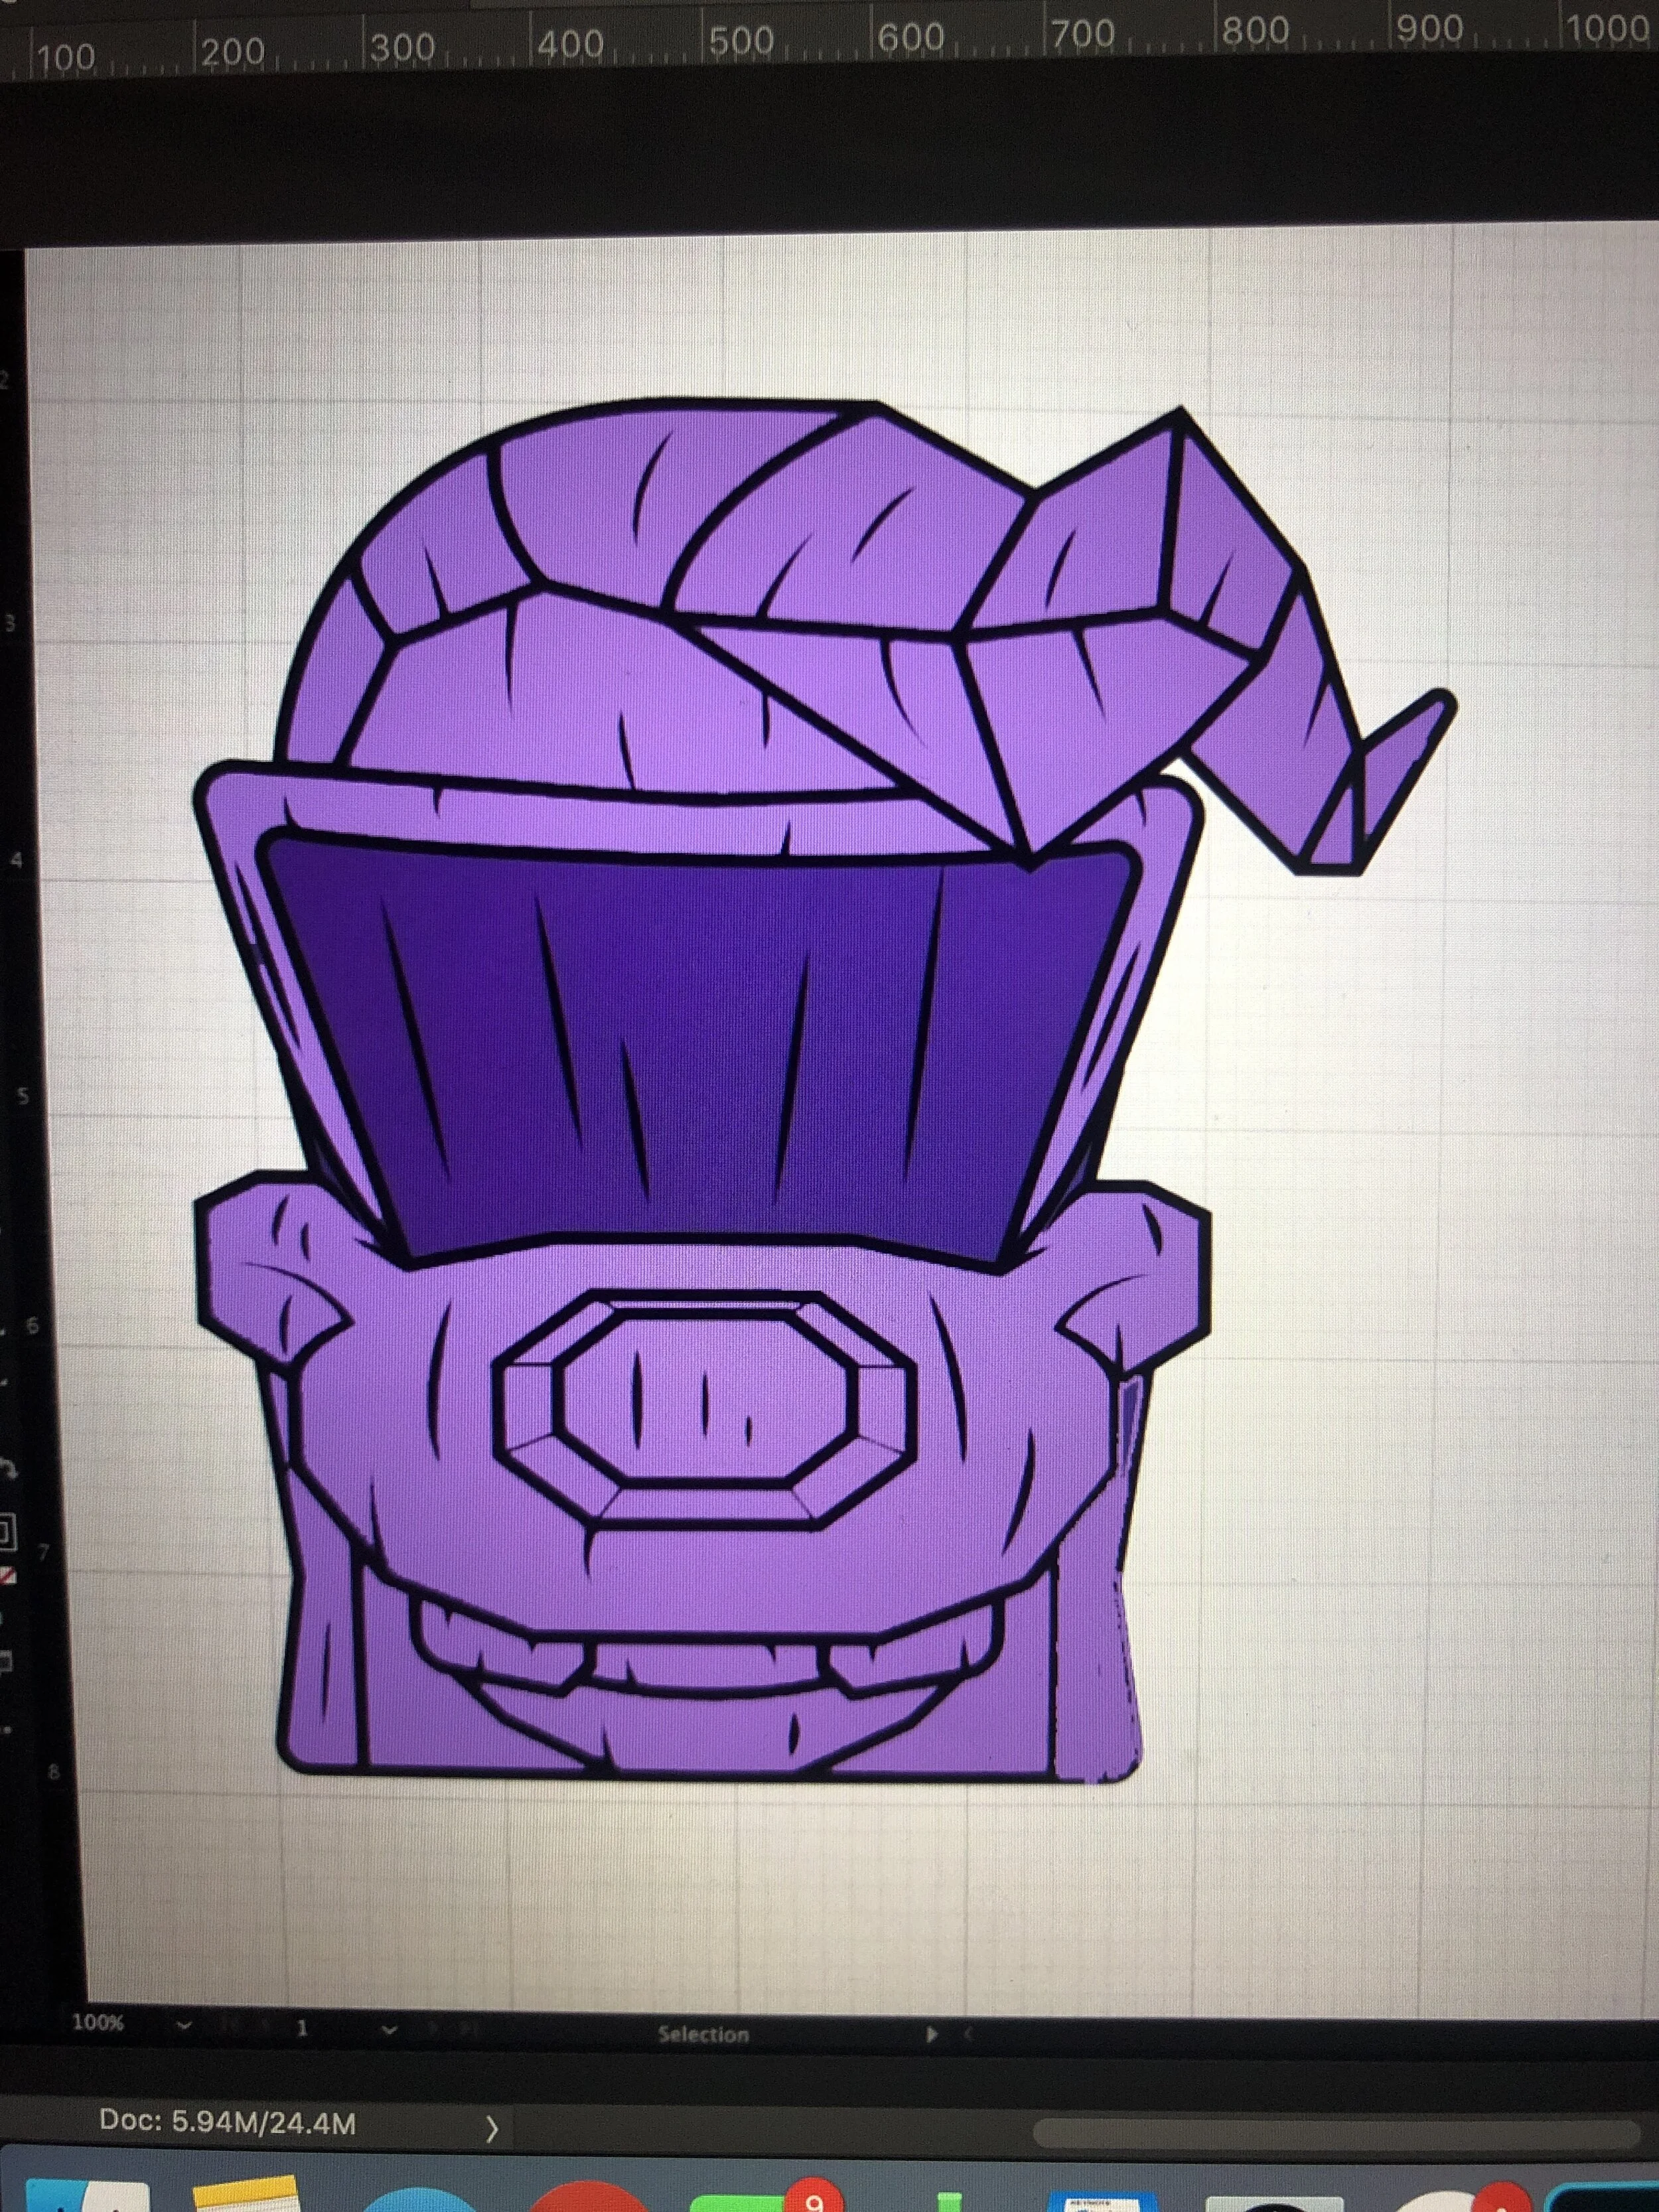
For this piece, I approached Aaron with the idea. I knew that if I wanted a Goofy tiki mug, I was probably going to have it make it myself. So I started off thinking to myself, what are my favorite Goofy memories and what sticks out the most? And that led me to The Goofy Movie. Although Goofy is my favorite character, the movie is just as iconic to me. So in my mind it came down to the fishing bobble head that inspires Goofy to take the trip OR Max impersonating Powerline… So, I went with Max impersonating Powerline because it also looks Goofy enough, right? I then talked to Aaron on the phone and kind of told him what I was thinking. We talked through how big the cup was, the ears, the definition, the ‘look’ and especially the hair. We talked through things like no straw and that I wanted a more “tiki” feel versus other Mondo tiki mugs just look like character figures. Then, he mocked up the below and we got started.

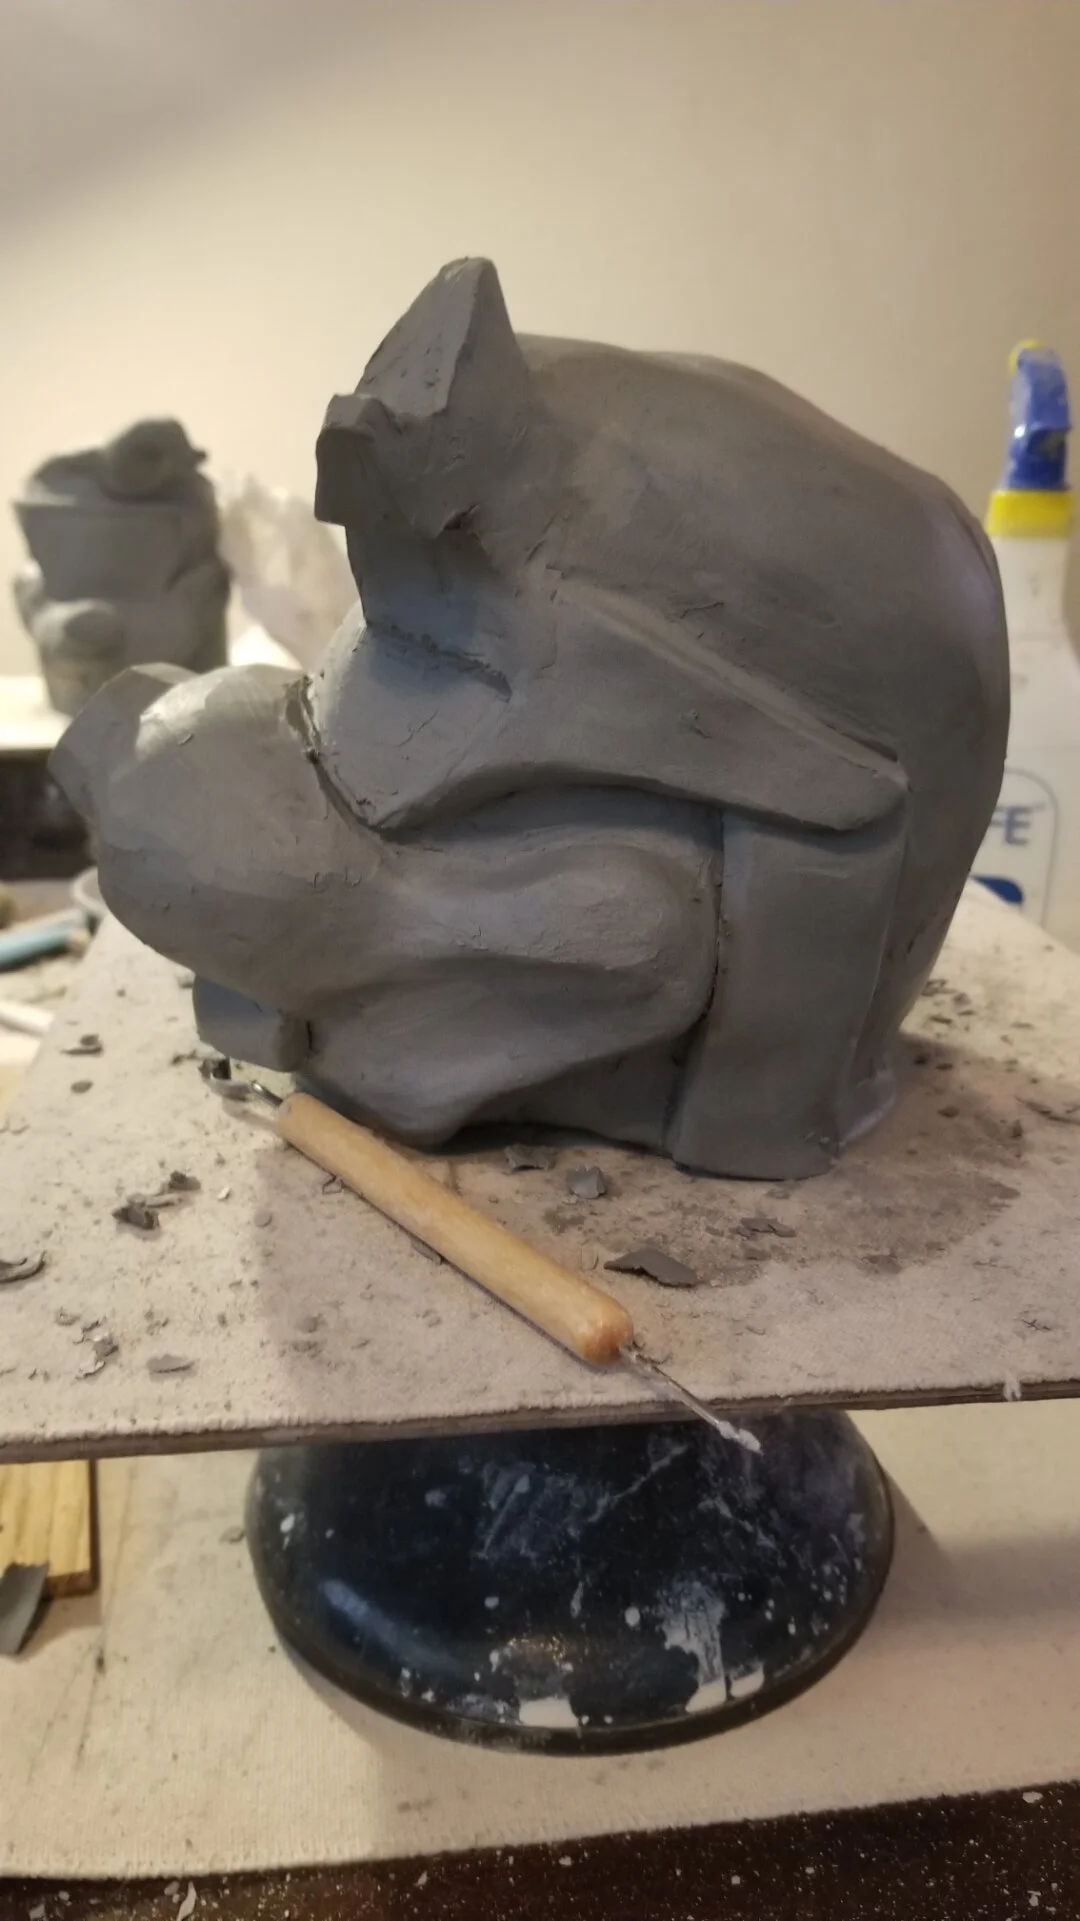
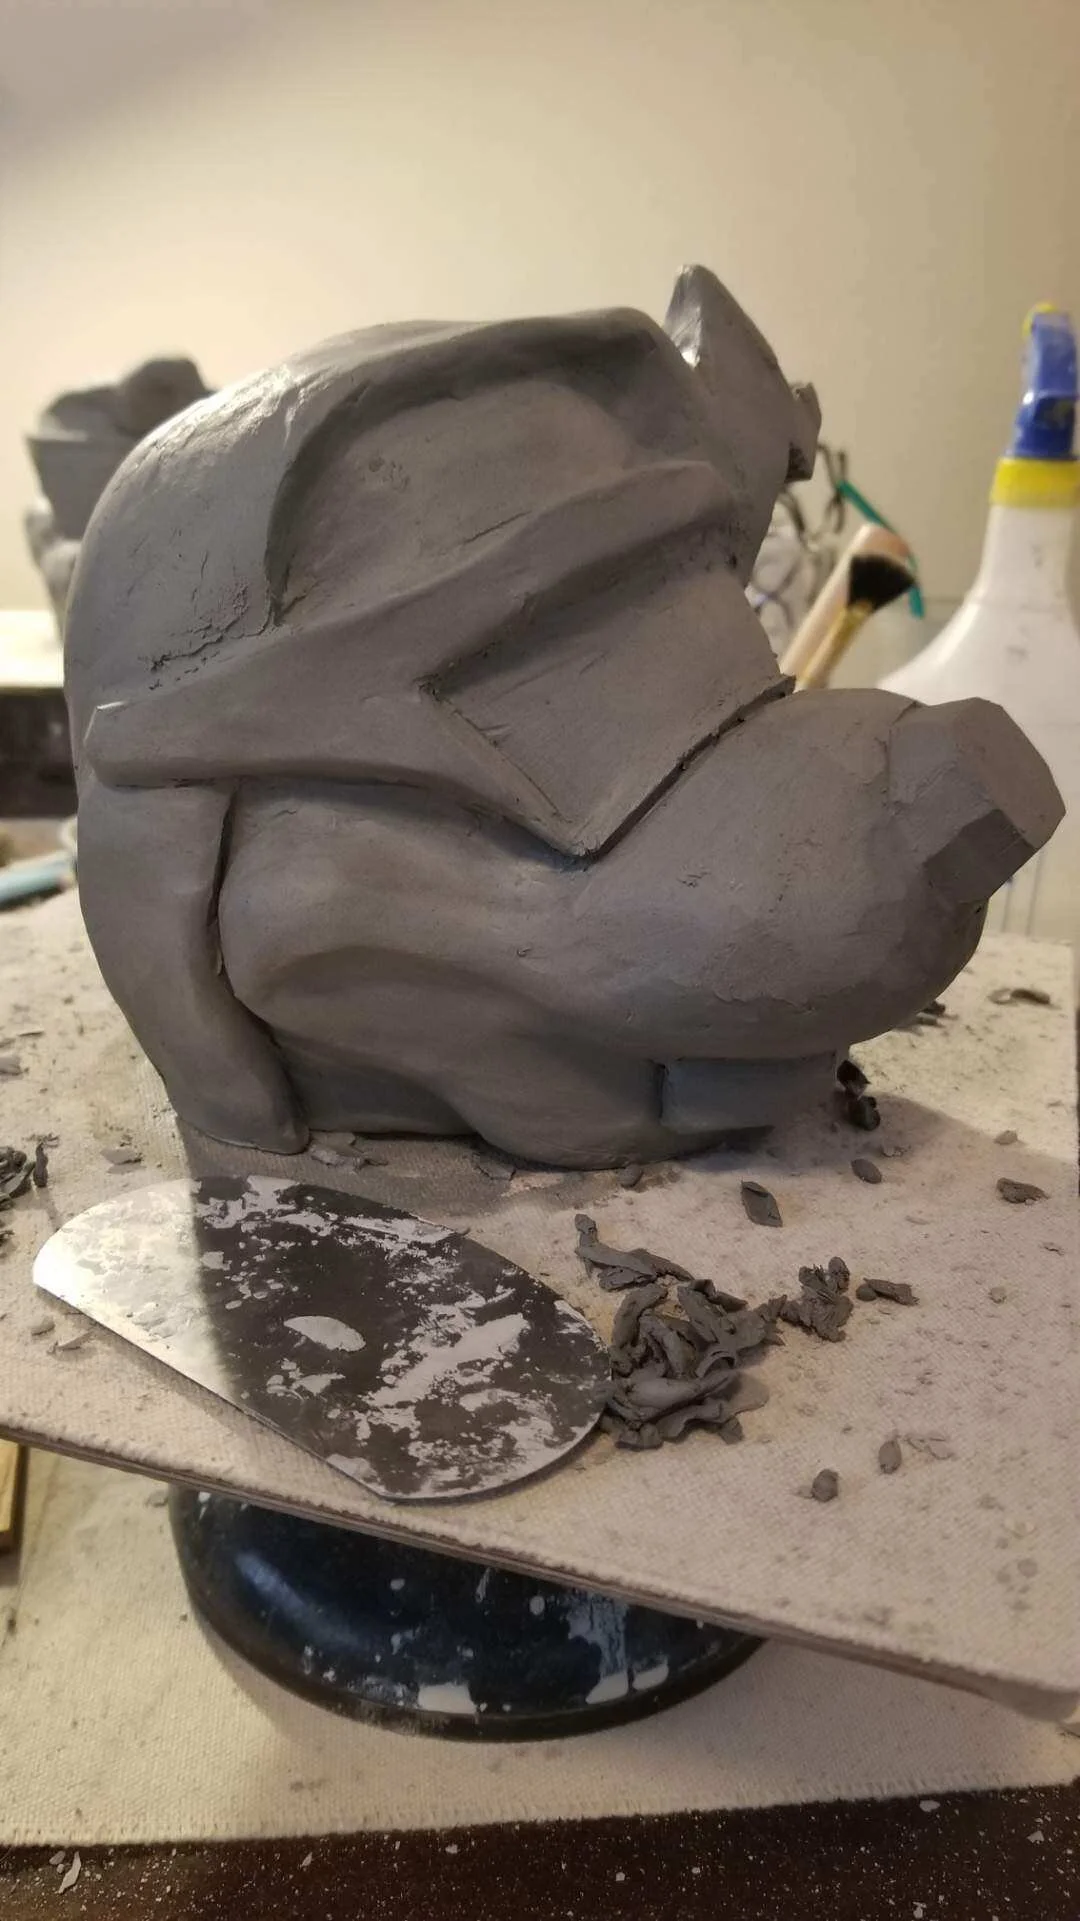
Step 2: Sculpting
Once we got the idea down, then it was time to sculpt it to life. Per Aaron, sculpting can be done digitally or traditionally with clay. Both are good methods. If you want something symmetrical, then digital might be the way to go. If you do this part digitally, once you’re done you can 3D print. When sculpting you need to factor the next few steps and know how much materials you use will shrink.

Step 3: B & C Mold Making
At this point in the process, Aaron 100% took over and he was doing the testing process. Therefore, I’m going to put a lot of things in this section straight from Aaron.
In this process there was a B & C Mold. The B Mold was sculpting to get the mold you’ll be looking to make and C Mold is where you demold it. So, for B Mold, if you’re doing this the traditional way, you’re actually sculpting the real life version of this to get your “locked mold” in place. For my Goof Movie mug, he did it in 5 parts due to the hair on the top of mug. But I mean, it’s iconic so we had to right?! Aaron said, “I wanted to make sure all the details were there and that it wouldn’t get stuck in the mold. Yes, a little overkill. I used plaster of paris for my mold and wood to block out the molds. It’s a lot of back and forth measuring and leveling to make sure everything looks good before pouring plaster for each side of the mold. Huge note, you’ll need to make sure there there is an opening at the top of you can pour your slip into it.” That’s JUST the B Mold. Once you have your mold done, you’ll move onto the C Mold where you demold it, which means you take each part of the mold apart and remove the original sculpt. Now you have a negative of your original sculpt.
Step 4: Preparing for slip casting
Since I was not involved with this part, per Aaron. “Once you have cleaned out your mold, you’ll want to reassemble it.”
Step 5: Slip Casting
A slip is a mix of water and clay that is used for casting a mug. What you do is pour the slip into the mold and let it sit there for a period of time. Essentially, this process if when the water starts to get absorbed by the plaster and creates a shell. Let the slip rest and dry a little bit before removing it from the mold.
Step 6: Demolding - the scary part!!
Out of all the steps, this was the scariest step per Aaron. You have to carefully remove each part of the mold and make sure the slip doesn’t go with it or the whole thing is bad and you’ll have to start the process over again. If it’s good, you might need to touch up a few areas that may need it.
Step 7: Drying and firing
These are a lot of steps right? Who know tiki mug making was so many steps!! All of which I learned some in the process of creating, but Aaron assured me that this was a new adventure for both of us! If all goes well, you should have your mug and you’ll let it out to airdry. After all, you just put of water in it. The drying step shouldn’t be overlooked. You need to make sure all the water and moisture is out of the clay. “If not, it can EXPLODE in the kiln and you’re mug is now useless,” from Aaron. Once it’s completely dry, put it in the kiln. You’ll need to make sure it’s set to the correct firing temp or it won’t work.


Step 8: Glazing and then firing AGAIN
Once your mug is fired then cooled, you’ll need to glaze it. There are a billion color options out there, but Aaron says to make sure your color is LEAD FREE. We decided to go with the color purple because I felt like, even though the Goofy Movie’s main color from the poster isn’t purple, that color has been attached to the brand as it’s come to life 25 years after it aired. Yellow was an option, but I have a Star Wars GeekiTiki mini muglet that’s yellow and it’s very hard to see the definition with a yellow glaze. Alright, back to the process, the one area you DON’T glaze is the bottom where it touches the kiln. It WILL get stuck. Fire it again, and YOU GOT A TIKI MUG!

I want to thank Aaron White from Promistyx for helping to take on this project and creating my one of a kind GOOFY MOVIE TIKI MUG.
I will note that this was a custom tiki mug made just for me and was not licensed by Disney in any way.